Now that you have setup your
Company, Customers and Inventory Items Information, you are ready to create an invoice. The following sub-sections will guide you through the basic functions pertaining to your invoices.
Create an invoice in 3 taps
To create an invoice, simply go to the Invoice screen by tapping on the side bar. This is also the default screen when you start the Invoice 360 app.
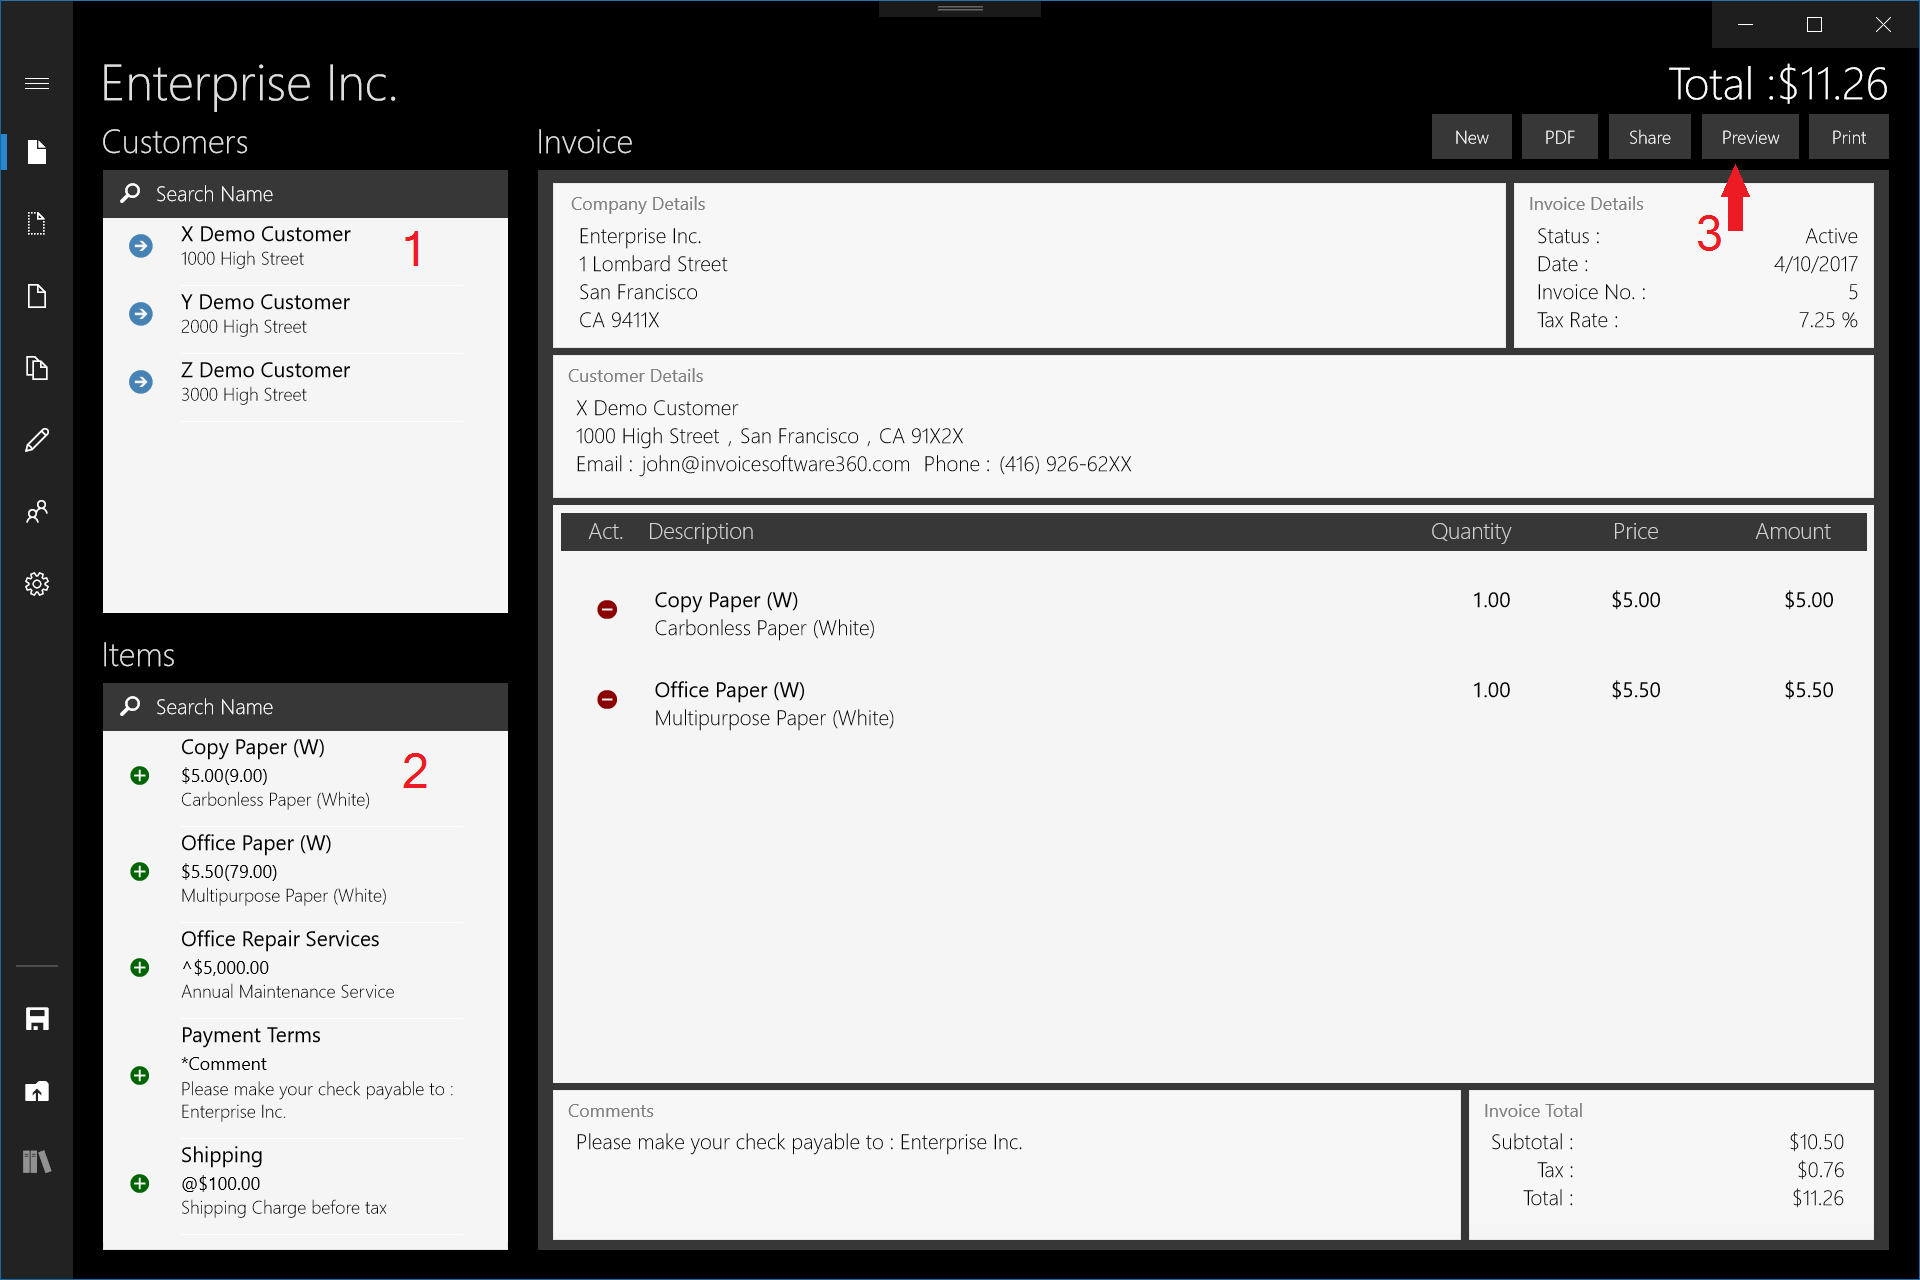
- 1. Select your customer.
You can also search for your customers in the search box. Customer details will be shown once you select a customer to be billed in this invoice.
If you need to amend or overwrite the customer details, simply tap on the Customer Details section and an edit window would appear on the left-hand side for you to amend the details.
- 2. Select the items to include in the invoice.
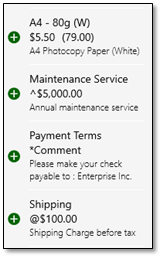
You can also search for the inventory items in the search box. The Item List shows Inventory Name, Price, Number of Items Left in Inventory for this item, and Inventory Description.
Selecting the same item multiple times increases the quantity of the item in the invoice, and at the same time, decreases the inventory item quantity. Each different inventory item is added onto the main Invoice as a separate row. The invoice total is automatically calculated.
There are special tags pertaining to an item. If the item is an Inventory Item, the price is shown; if the item is a charge e.g. shipping charge, it is prefixed by @; if the item is a service e.g. maintenance service, it is prefixed by ^
You can add Comments, prefixed by *, in the Invoice, to serve as a reminder for the customer, or to specify any pre-agreed conditions. A maximum of three (3) comments are supported.
- 3. Tap on the Print button.
Tips on the using the Invoice screen
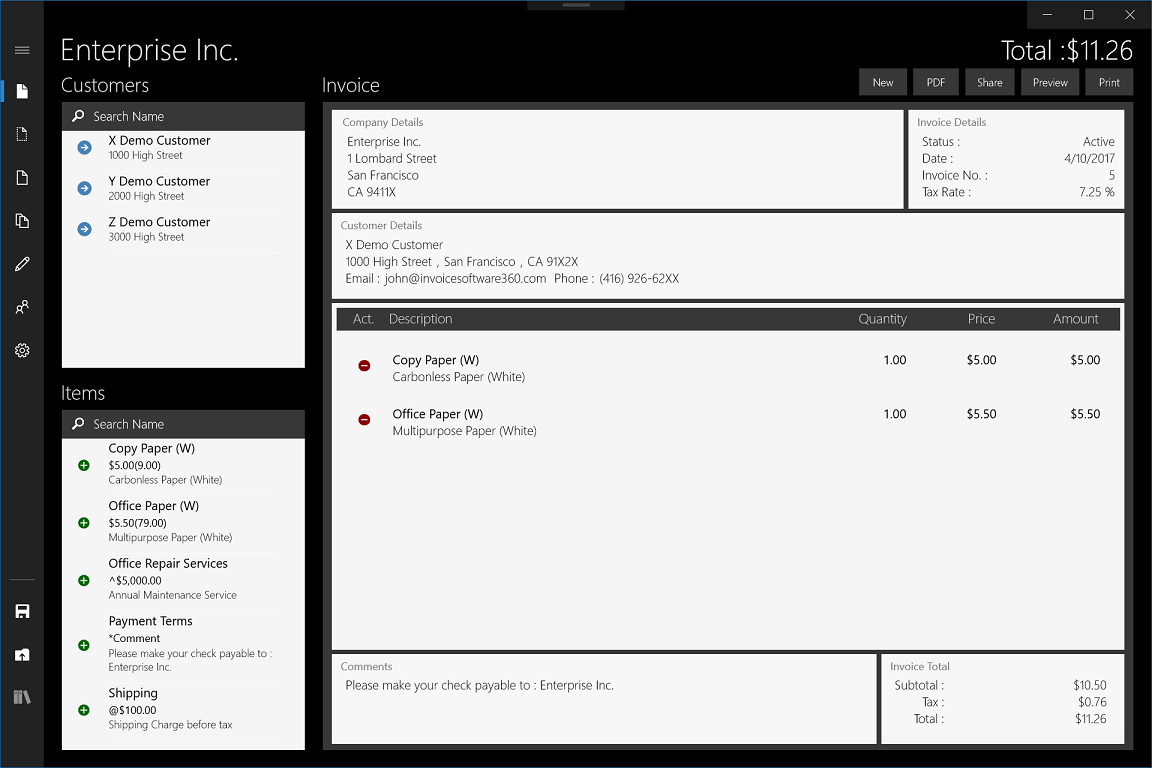
Refer to the screenshot above, let's go through this screen in details.
- To remove an inventory item, tap on (-) button on the main Invoice. If there are multiple quantity of this same item, tapping on (-) button decreases the item quantity, and would not remove the entire Item row from the main Invoice.
- Tap the <New> button to start a new invoice. The new invoice has a unique invoice number within the same company.
- You may have tried to look for a <Save> button on the screen. There's no need to save as changes are effected and captured automatically.
- You can tap the <Preview> button to preview the invoice that you have created or the <PDF> button to save this invoice as a PDF (Portable Document Format).
Edit an invoice
You can edit and overwrite information by tapping on the different parts of the invoice on the app. This is shown below.
Edit Company Details
To edit company details on the invoice, tap on the Company Details section. A window on Company will appear on the left-hand side of the screen for you to amend the information.
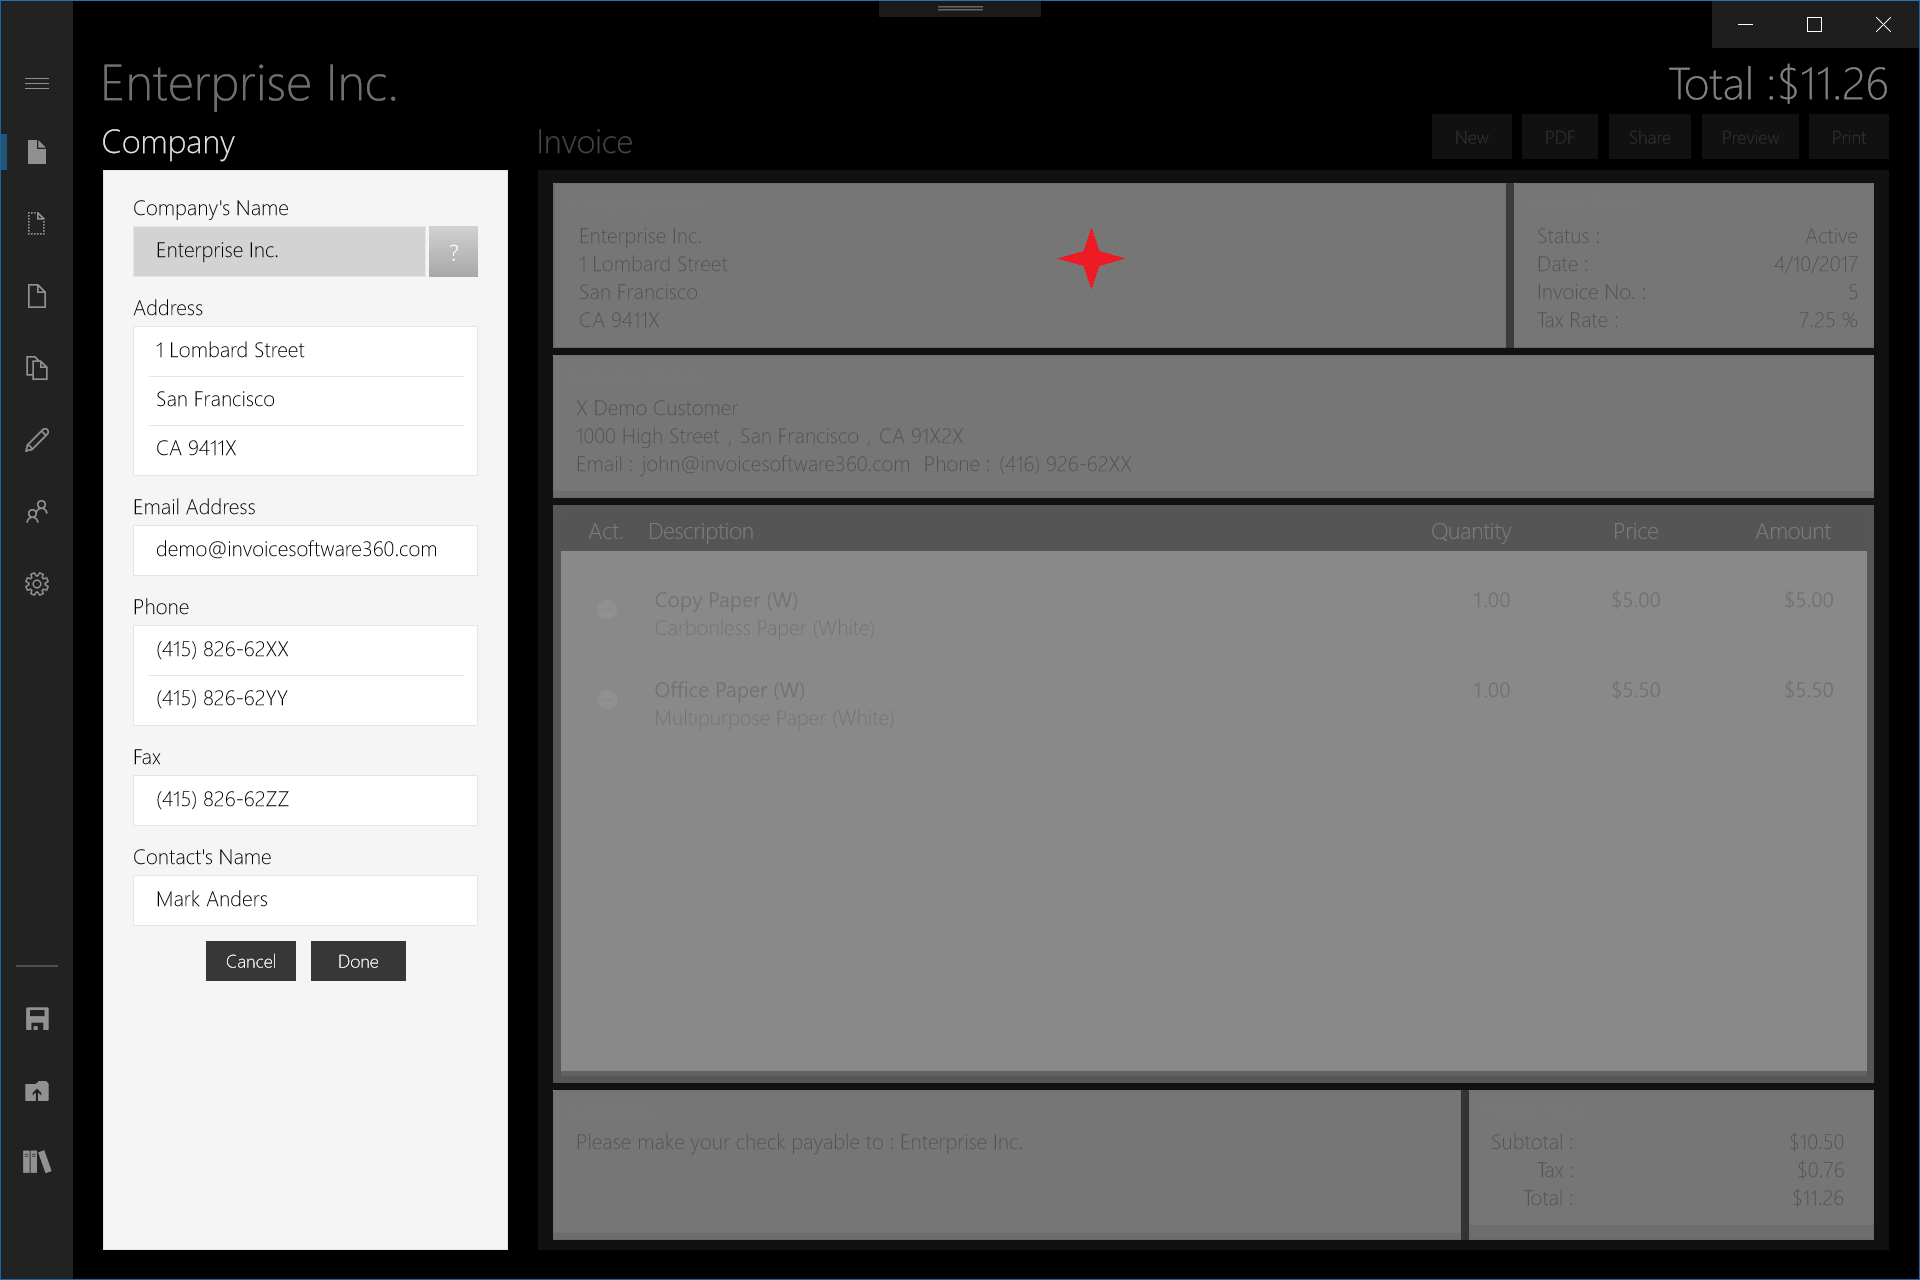
Tap the <Done> button to save the changes or the <Cancel> button to exit this window without saving the changes.
Please note that the changes on company details in this invoice will only be effected on this particular invoice. For example, changing the Email field only affect the Email of this invoice and not the Email of the active Company.
Edit Invoice Details
To edit invoice details, tap on the Invoice Details section. A window on Invoice Details will appear on the left-hand side of the screen for you to amend the information.
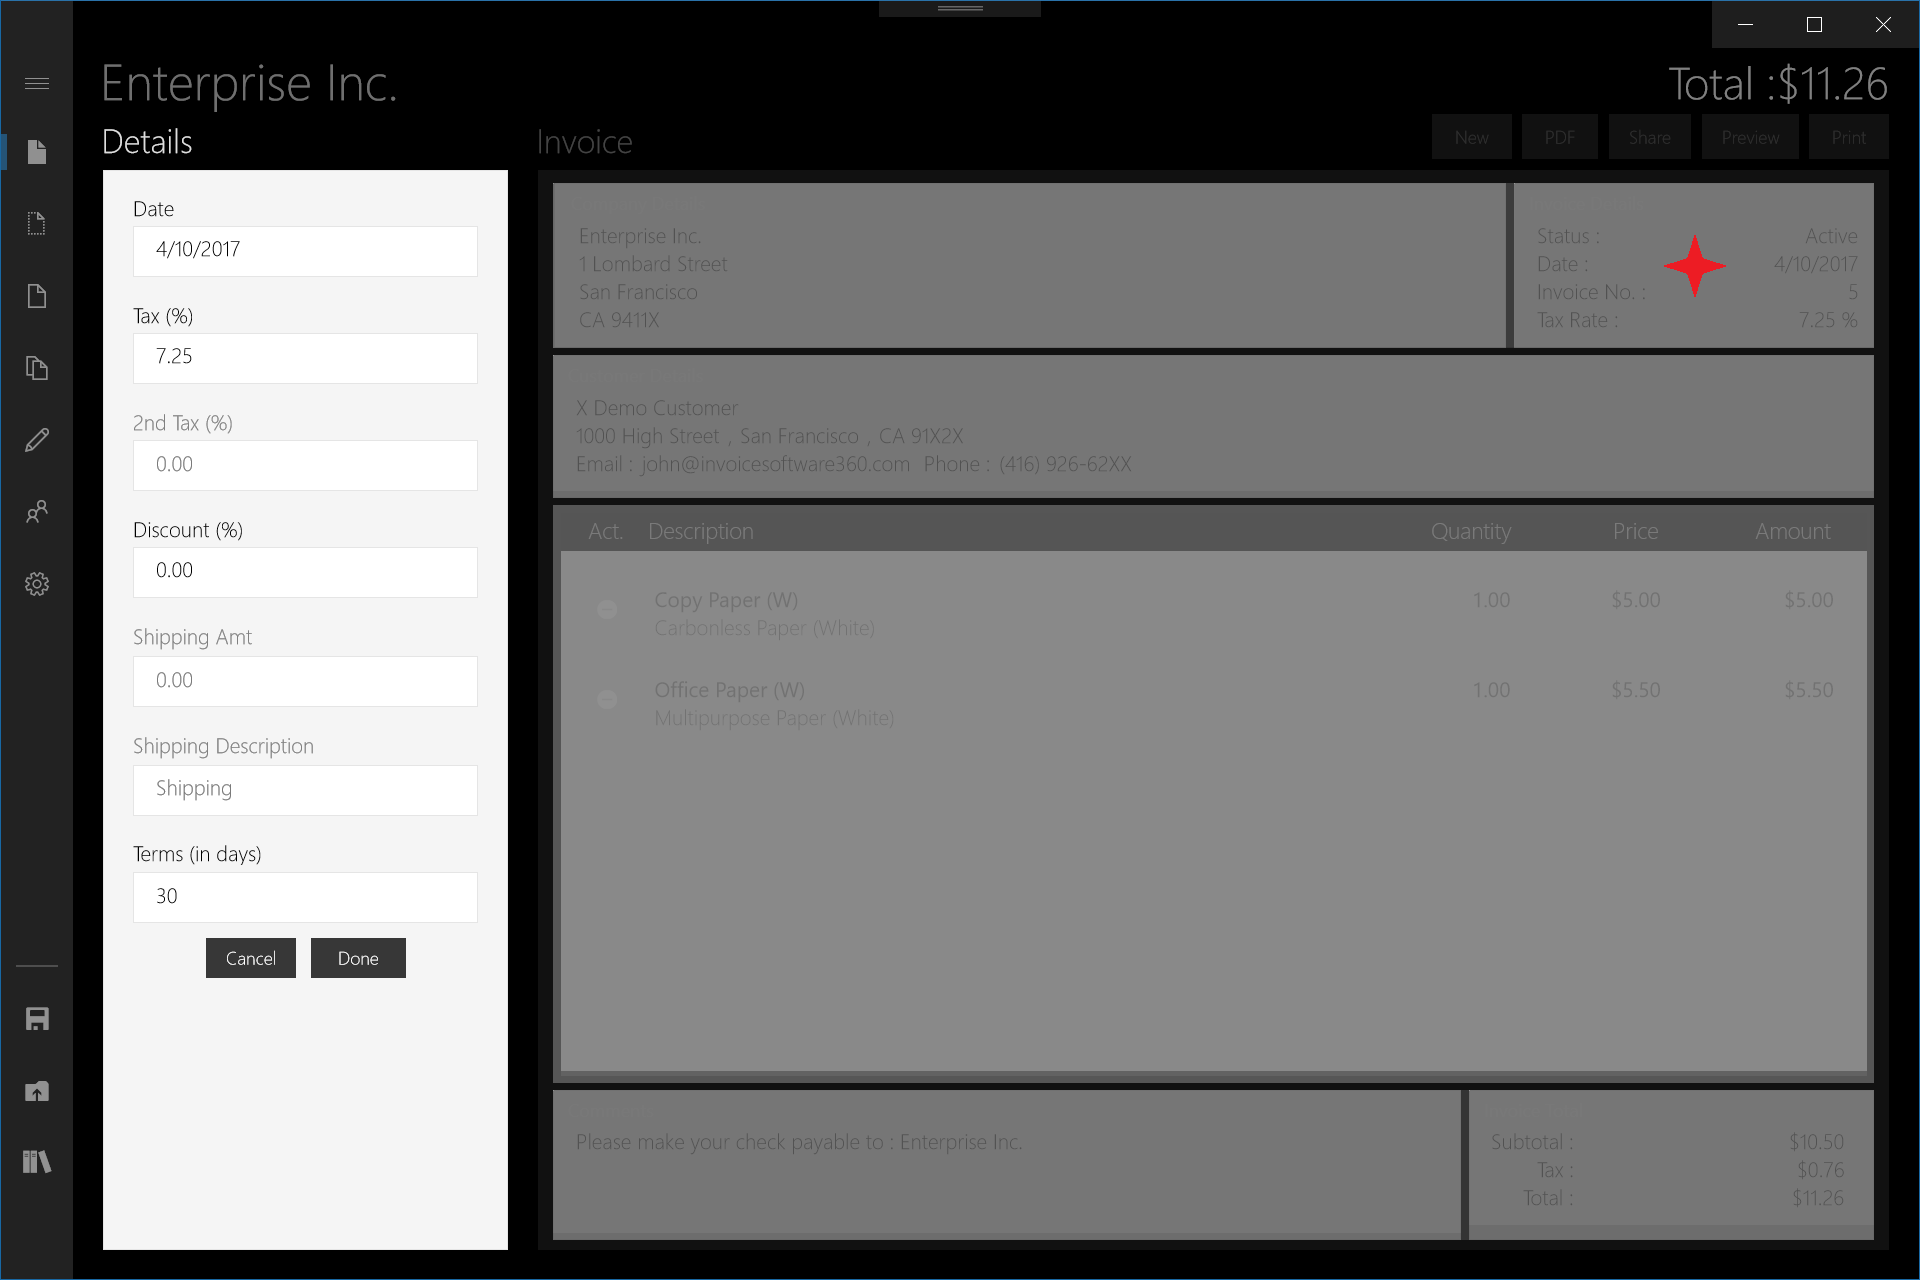
The 2nd Invoice Tax, Shipping Amt and Shipping Description fields are greyed out in the window as they are disabled in the
Settings screen. These options are enabled or disabled at company level and not at individual invoice level.
Tap the <Done> button to save the changes or the <Cancel> button to exit this window without saving.
Edit Customer Details
To edit customer details on the invoice, tap on the Customer Details section. A window on Customer will appear on the left-hand side of the screen for you to amend the information.

Tap the <Done> button to save the changes or the <Cancel> button to exit this window without saving. Do note that the changes on customer details in this invoice will only be effected on this particular invoice.
Edit Item Details
To edit an Inventory Item details, tap on the Item that you want to edit. A window on Invoice Item will appear on the left-hand side of the screen for you to amend the information.
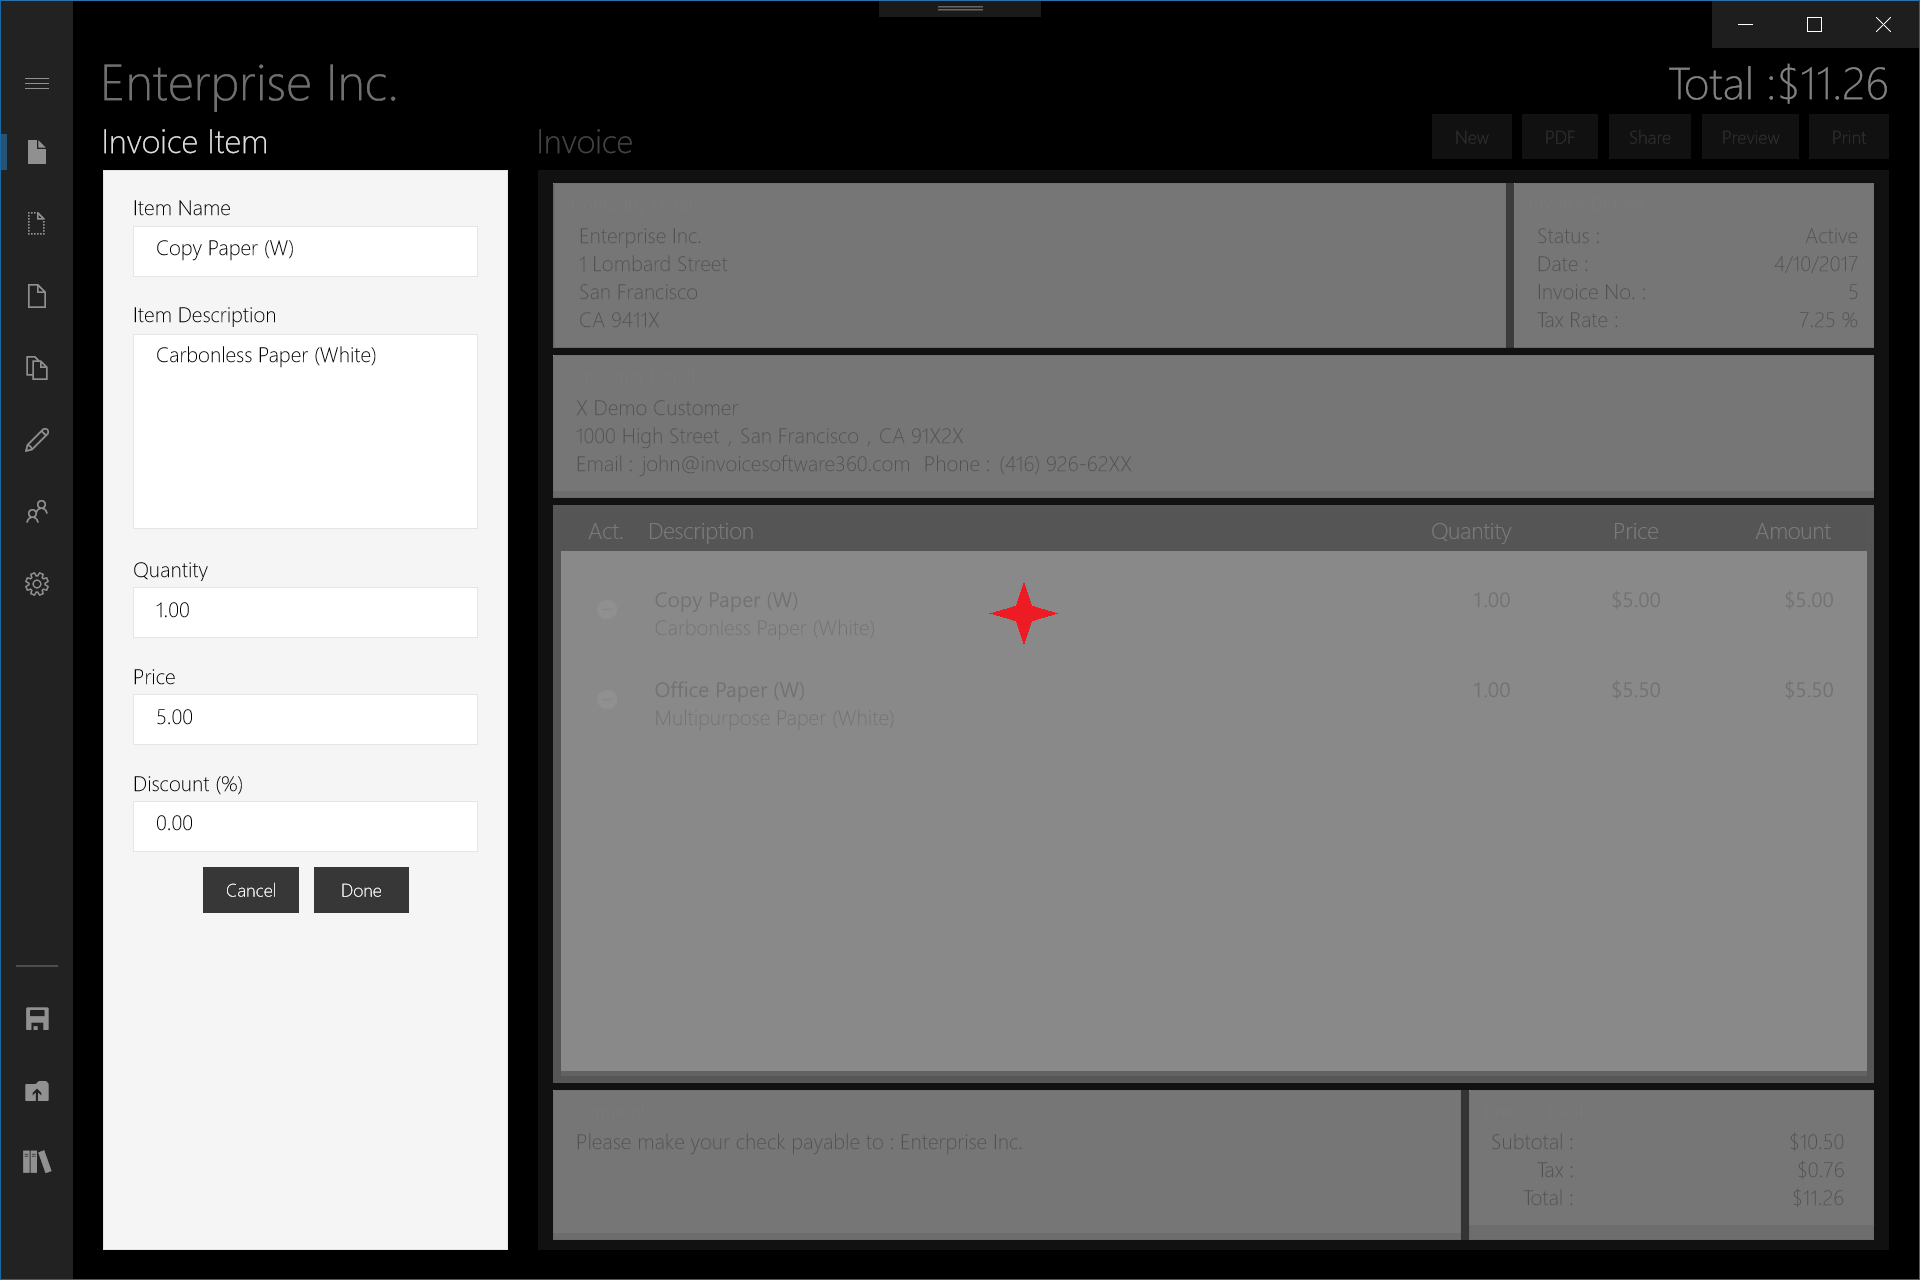
Tap the <<Done> button to save the changes or the <Cancel> button to exit this window without saving. The Invoice Total would automatically be calculated if there are changes on the item list. The inventory quantity for that item would also be automatically adjusted downwards or upwards, depending on your change.
Edit Comments
To edit the comments on the invoice, tap on the Comments section on the main Invoice screen. A window on Comments will appear on the left-hand side of the screen for you to amend the information.
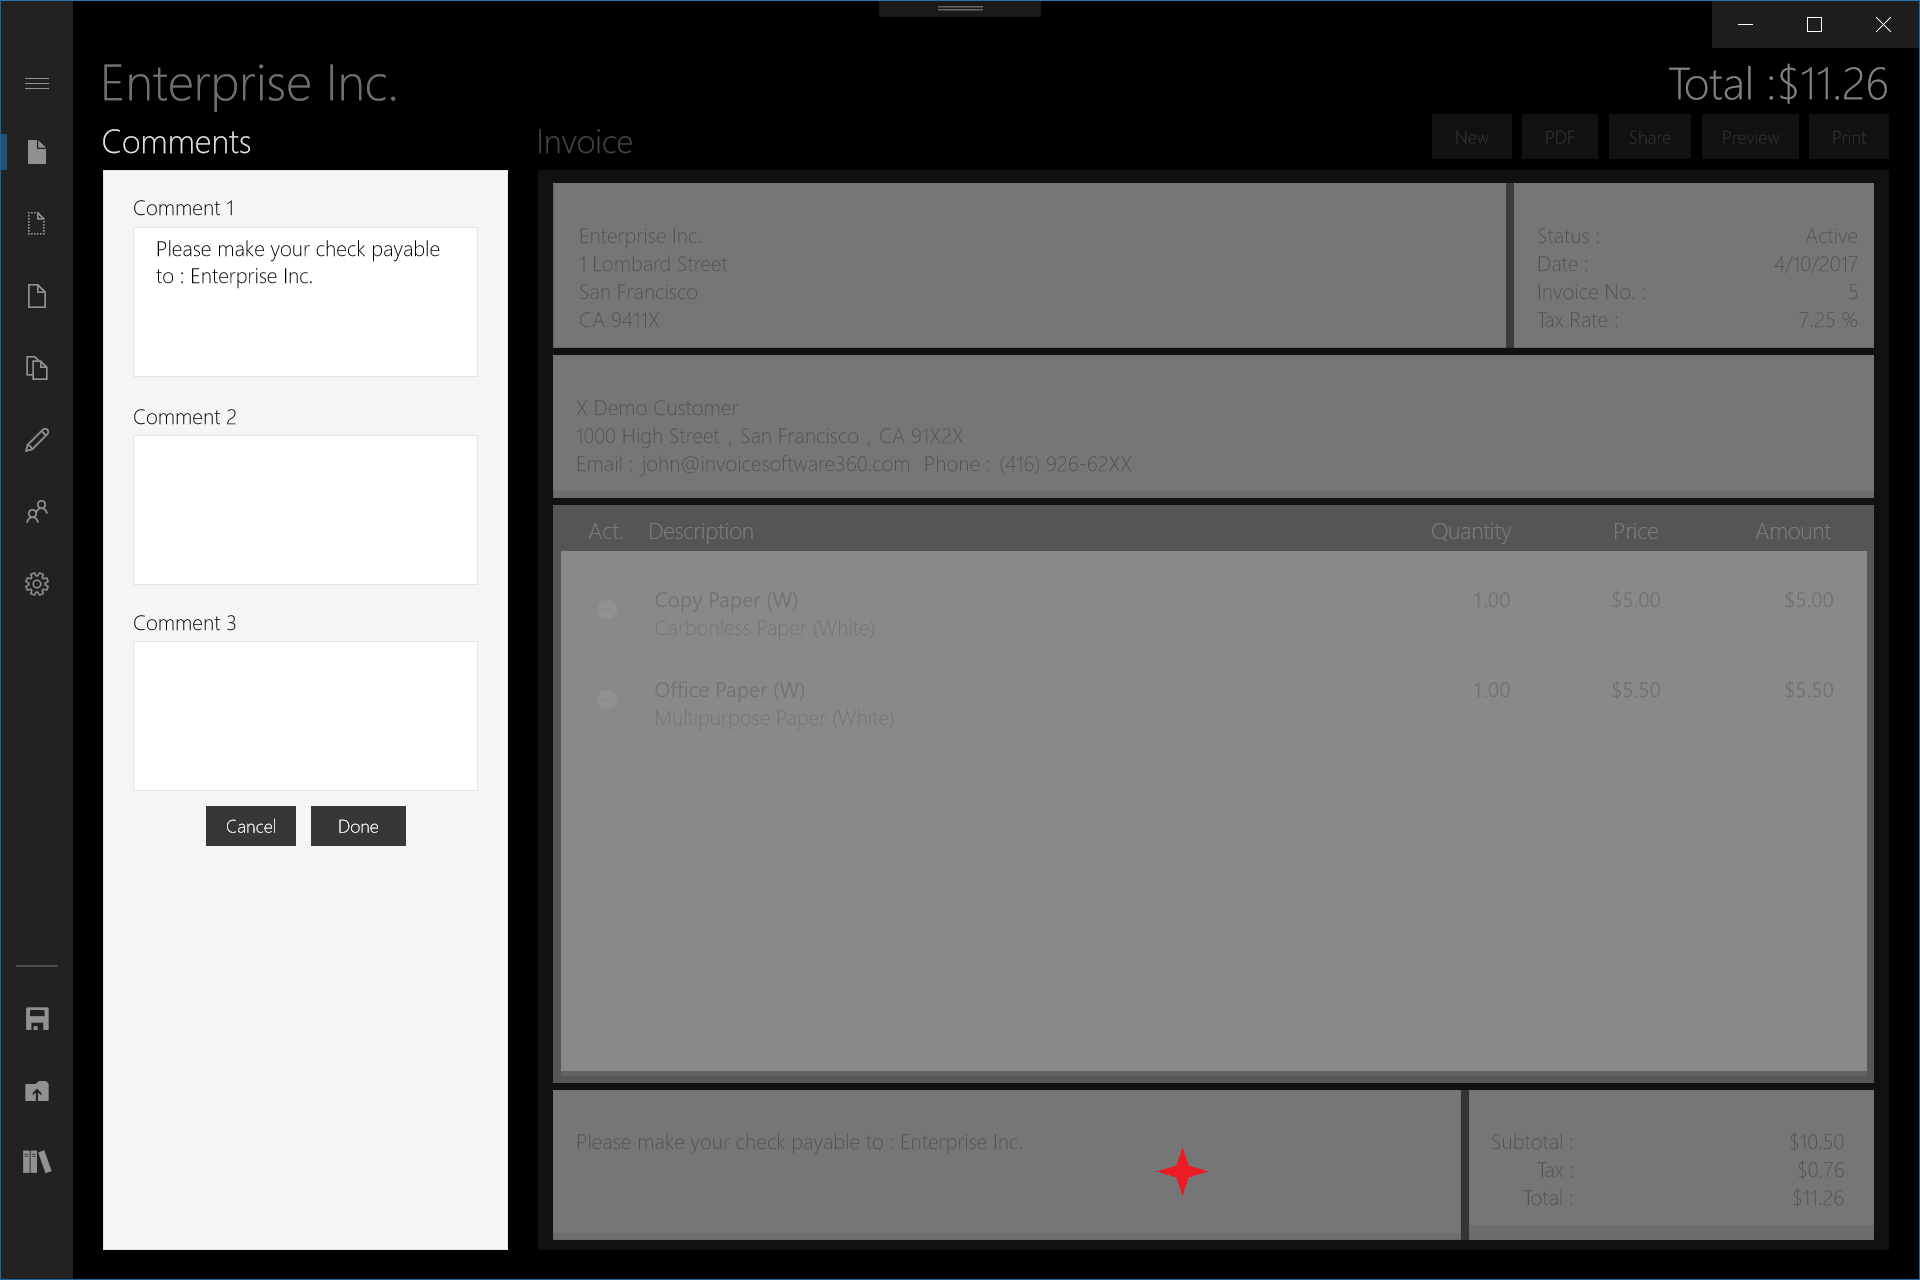
Tap the <Done> button to save the changes or the <Cancel> button to exit this window without saving.
Edit Invoice Total
To edit the Invoice Total, tap on the Invoice Total section on the main Invoice screen. A window on Invoice Details (the same as the Invoice Details screen described above) will appear on the left-hand side of the screen for you to amend the information.
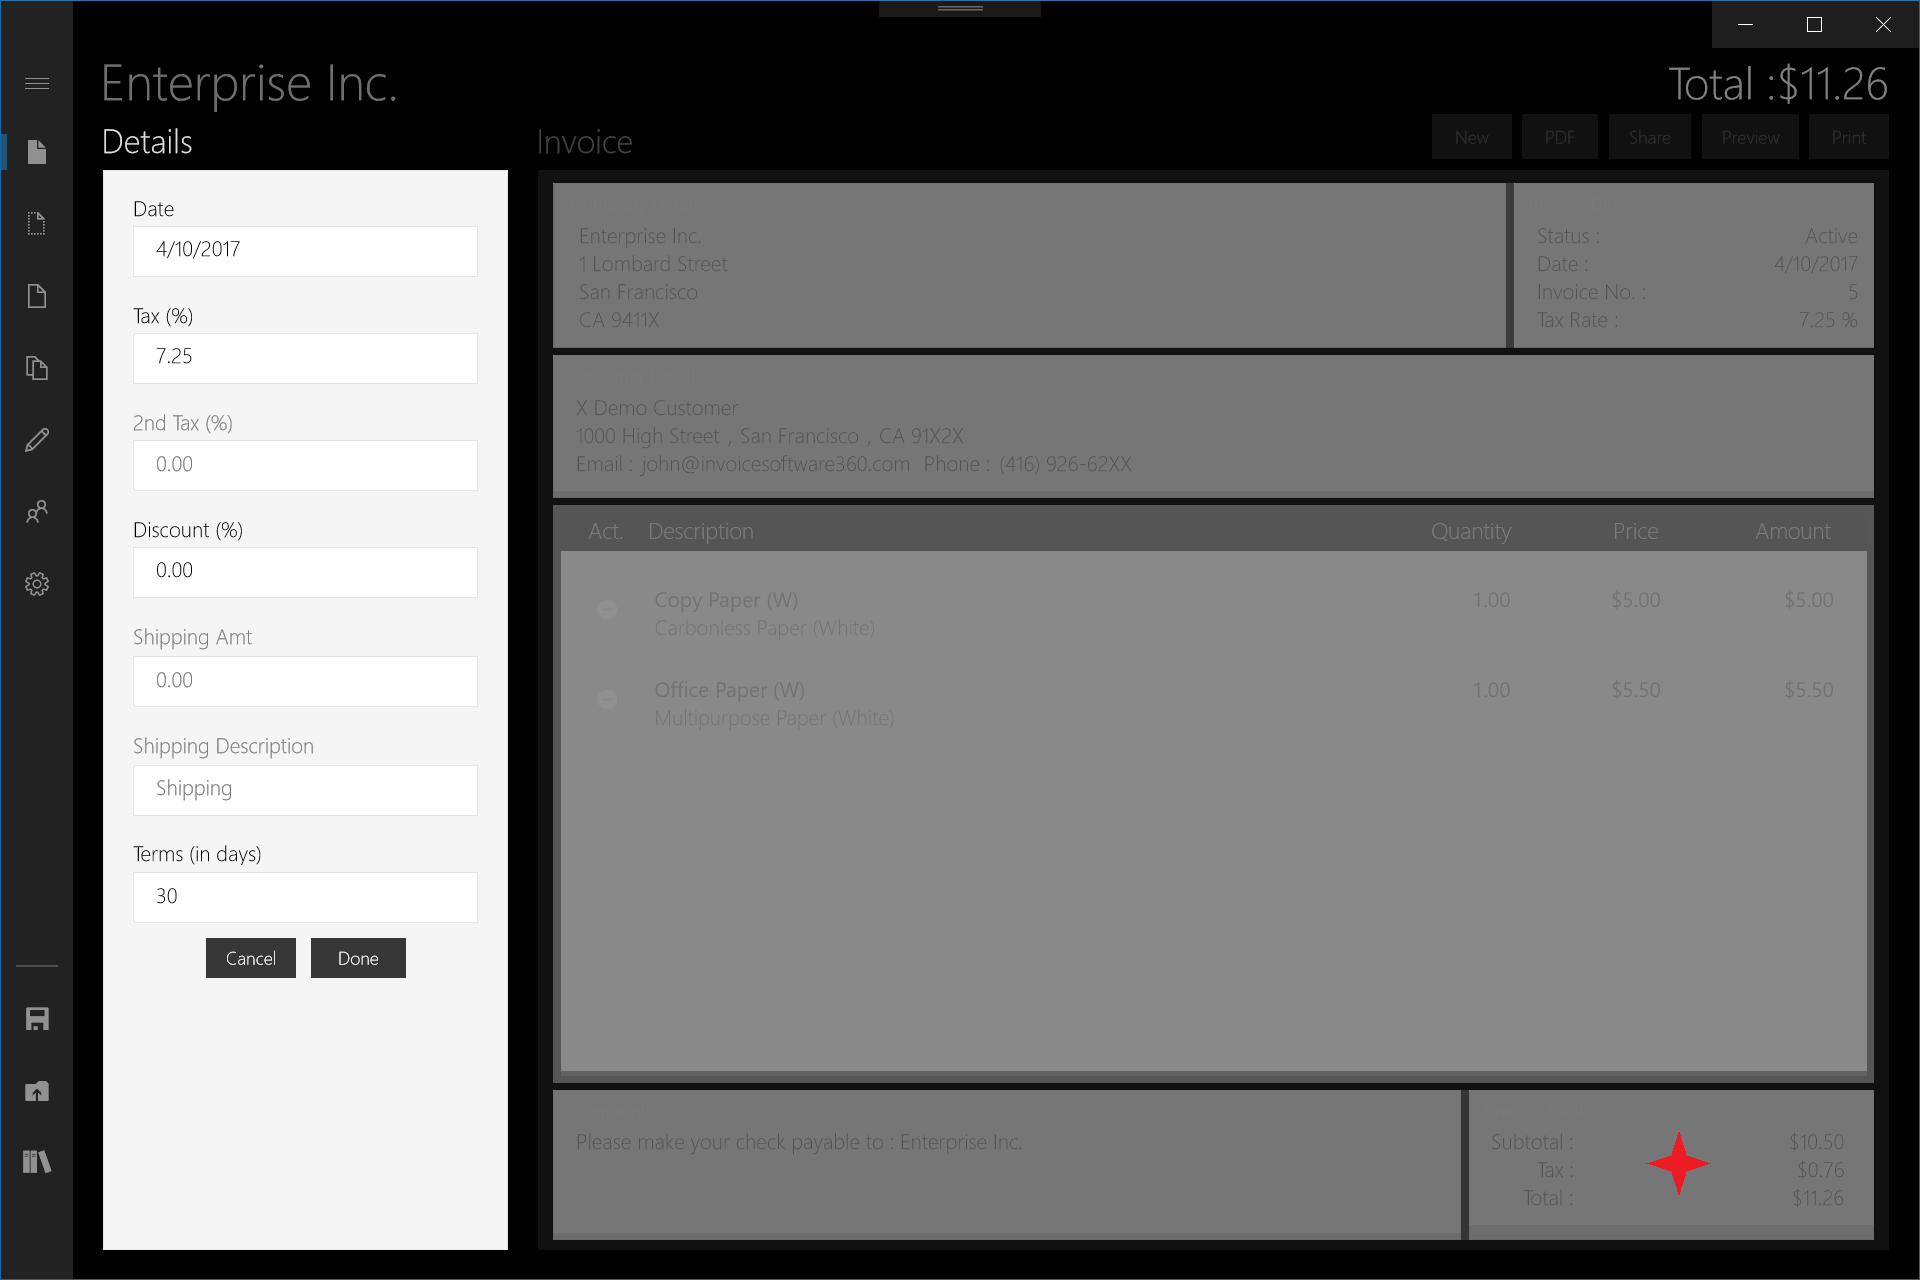
Tap the <Done> button to save the changes or the <Cancel> button to exit this window without saving.